This is a quick transcript of my video on how to change out the OEM shock on a 2003 SV650S. Upgrading from your OEM suspension is one of the most important things you can do to improve your bike handling, feel, and enjoyment. For me, it came down to necessity, as my OEM shock was leaking oil.
Here are some tools you will need:
- Metric sockets
- Wrench extenders
- Metric crescents
- Breaker bar
- Torque wrench
- Spanner wrench (shock adjustment tool)
- Thread locker
- Motorcycle stands
- Automotive jack
- Screwdrivers, flat and Philips
You may also need:
- Grease
- Ballistol (cleaning)
- Needle-nose pliers
- Rubber mallet
- Patience
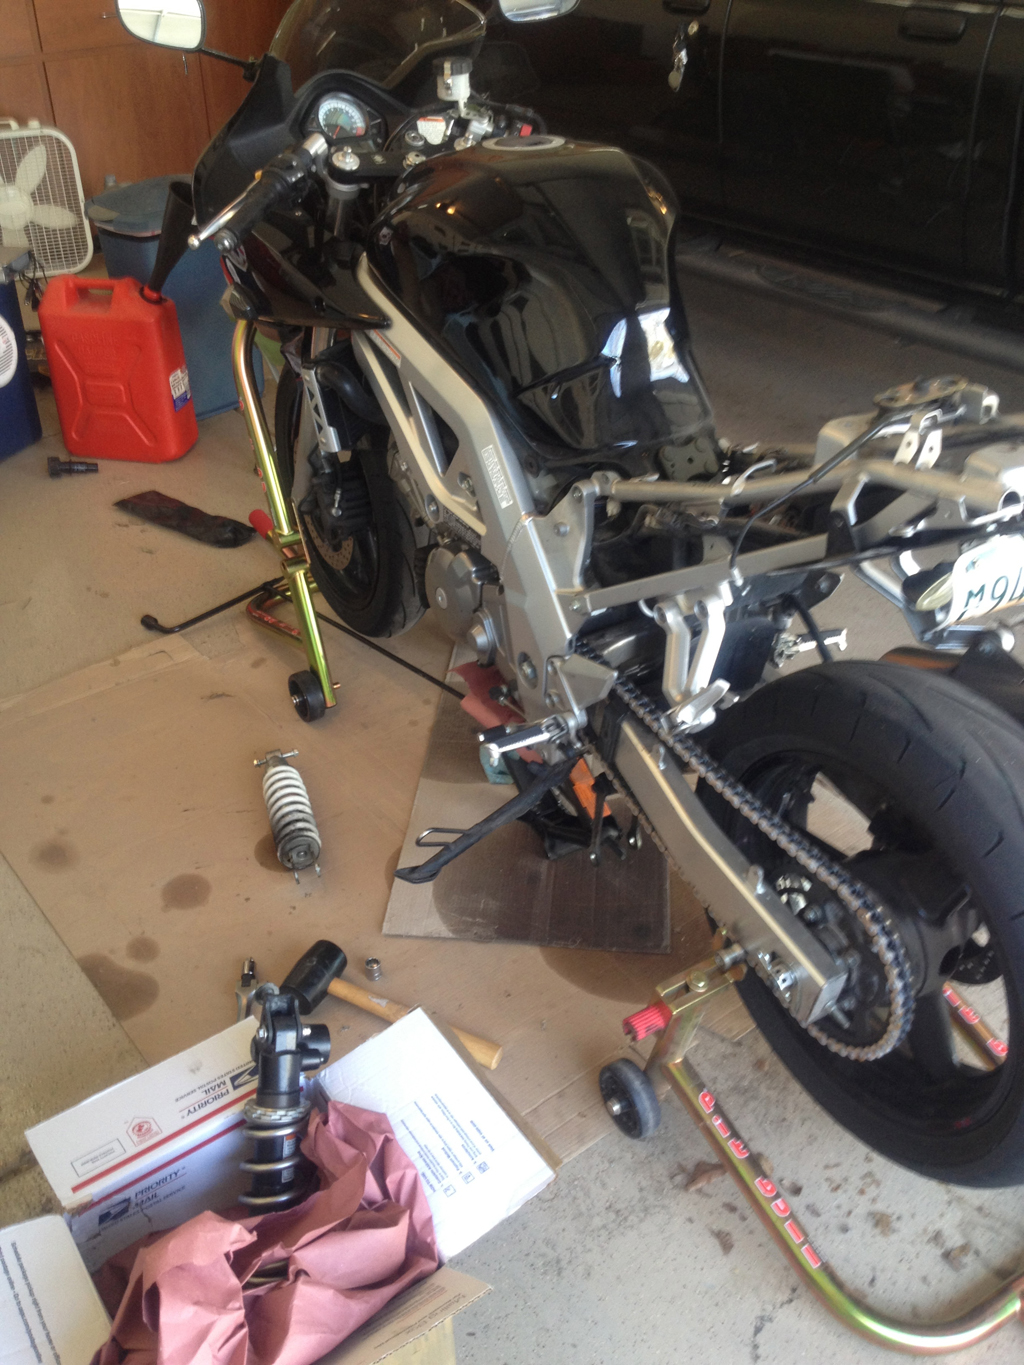
Sorry, I didn’t take any pictures on this post, the video is intended to replace all the pictures. Here are the basic steps:
- Get bike up on stands. The goal is to stabilize with bike suspended in air.
- Release tension off of rear shock. Put the automotive jack under the bike and lift it from the center of gravity, straight up. The rear spools should be a bit loose in the rear stand. Don’t lift too high, or your bike won’t be stabilized by the stands.
- Remove anything making it difficult to get to the shock. I removed the rear cowling, you may not need to. I didn’t remove the wheel, you may need to. Just make sure you can get to all the bolts that contact the OEM shock and cushion levers (“dogbones”) easily.
- Loosen up the top of the cushion levers by removing the bolt. Swing cushion levers down.
- Remove lower mounting bolt on shock.
- Remove top mounting bolt on shock. Keep a hand on the shock so it doesn’t drop, then guide it out the bottom.
- Adjust new shock’s preload, damping, and rebound to your weight and conditions. Read service manual for guidance, or visit Sport Rider for suspension guide.
- Put new shock in. For a 2003 SV650S, I highly recommend finding a gently used 2006/07 Kawasaki ZX10R shock as a surrogate. It fits with no cutting or adjustments.
- Fit new shock into top mount, and insert OEM SV650 top shock bolt. Use thread locker (blue) on the bolt and then tighten to 36 ft-lbs.
- Line up lower mount with lower shock assembly and insert OEM ZX10R shock bolt. If you aren’t using that shock, just make sure that the bolt is 10mm wide, is flanged, isn’t threaded the whole length, and that when it is installed the cushion levers clear it on both sides. Use thread locker (blue) on the bolt and then tighten to 36 ft-lbs.
- Either raise or lower the bike with the jack in order to line up the cushion levers to where it needs to be. Replace cushion lever bolt with OEM SV650 bolt. Use thread locker (blue) on the bolt and then tighten to 51.5 ft-lbs.
- Reassemble anything you might have taken off.
- Check your chain tension. New suspension components might affect your chain’s tension, so just check it before your first ride.
Be careful on your first few rides. Your bike’s handling characteristics will have changed dramatically. As you get used to your new shock, adjust its characteristics as necessary. Have fun out there and keep the rubber down.