Getting the DJI Inspire 1 ready for a flight with the camera is a chore. Since the OEM case requires the drone to commute between flights in a “Travel Mode,” and the camera doesn’t fit on the drone in Travel Mode, every Inspire 1 pilot must follow the setup dance:
- Power On
- Exit Travel Mode
- Power off
- Install camera
- Power On
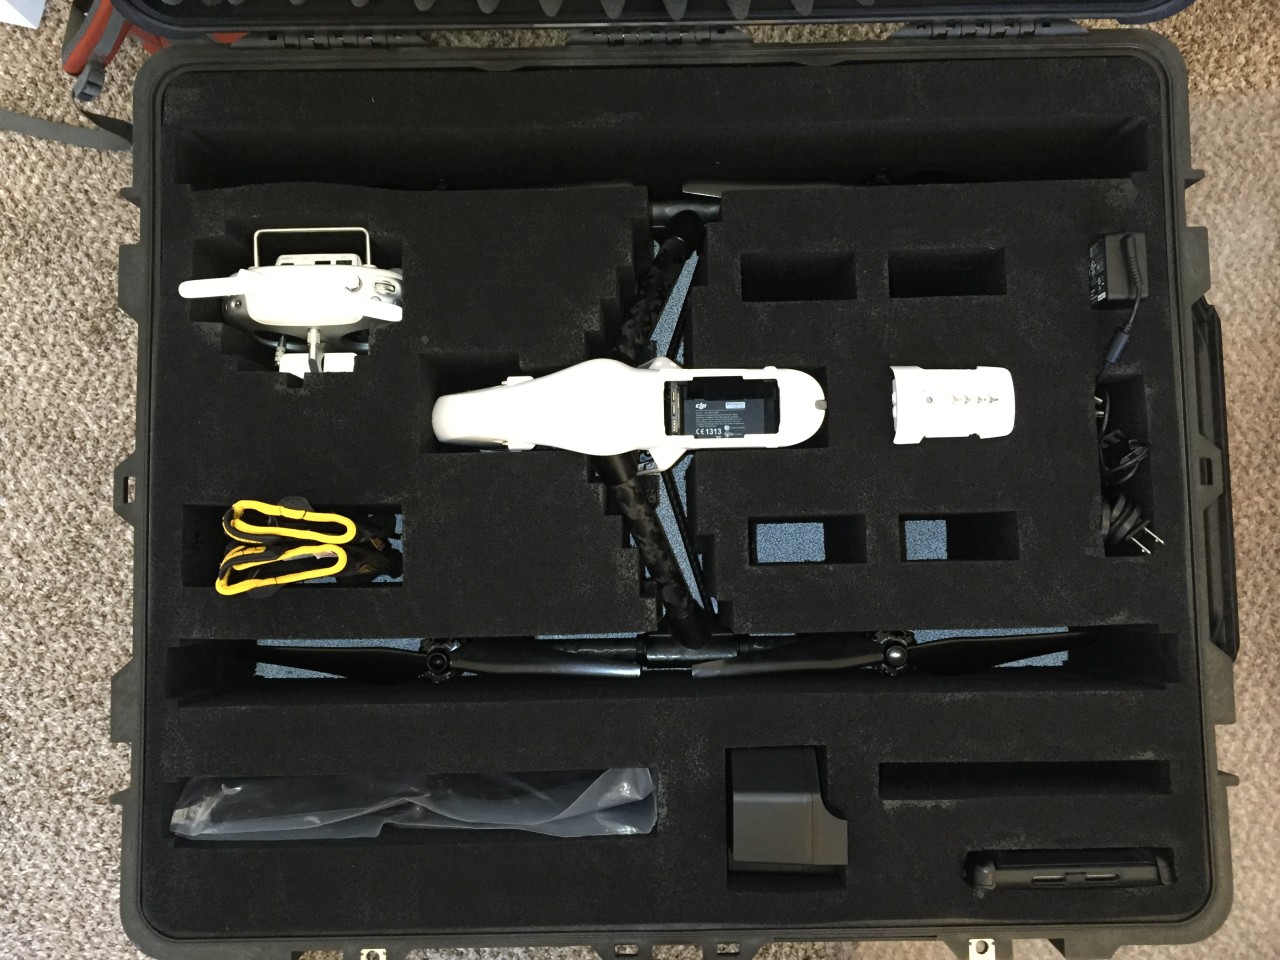
This doesn’t take into account the rest of the pre-flight, including installing the props and calibrating the sensors. It doesn’t seem like much, and it really isn’t that bad, but considering that you must also reverse the process after each flight it definitely can wear on you over time. Especially if you only have one battery and your setup/breakdown takes as long as your entire flying session. I wanted a more efficient setup and breakdown, so I came up with an idea to transport the Inspire 1 with the camera on, Travel Mode off, and props installed.
To accomplish this, you need a big case. There is a reason DJI ships them in Travel Mode with props off, because in the configuration I was looking for it was going to take up a lot of space, approximately 17.75″ x 29″ x 12″ if your props are parallel with the arms. I found the Pelican 1690 would fit these dimensions nicely, leaving plenty of room for accessories. The only questionable dimension would be an interior width of 30.13″, leaving just 0.5″ of space between the props and hard outer shell. After doing quite a bit of research, I couldn’t find a case that would fit the Inspire 1 better. I decided to chance it, and bought the Pelican 1690 “used – like new” on Amazon for $240. In retrospect, I should have gotten a smaller case and just accepted taking the props off, but I’ll get to that in a bit.
When I got the case, I realized how huge it is. Ginormous. Hugenormous. Even mocking up the size with a tape measure didn’t do it justice, it’s truly a behemoth of a case. For some reason, its size makes me like it just that much more. Like a boulder, I feel I could truly abuse this case and it wouldn’t fail in any way, while the OEM case is already falling apart inside and out after a month of use.

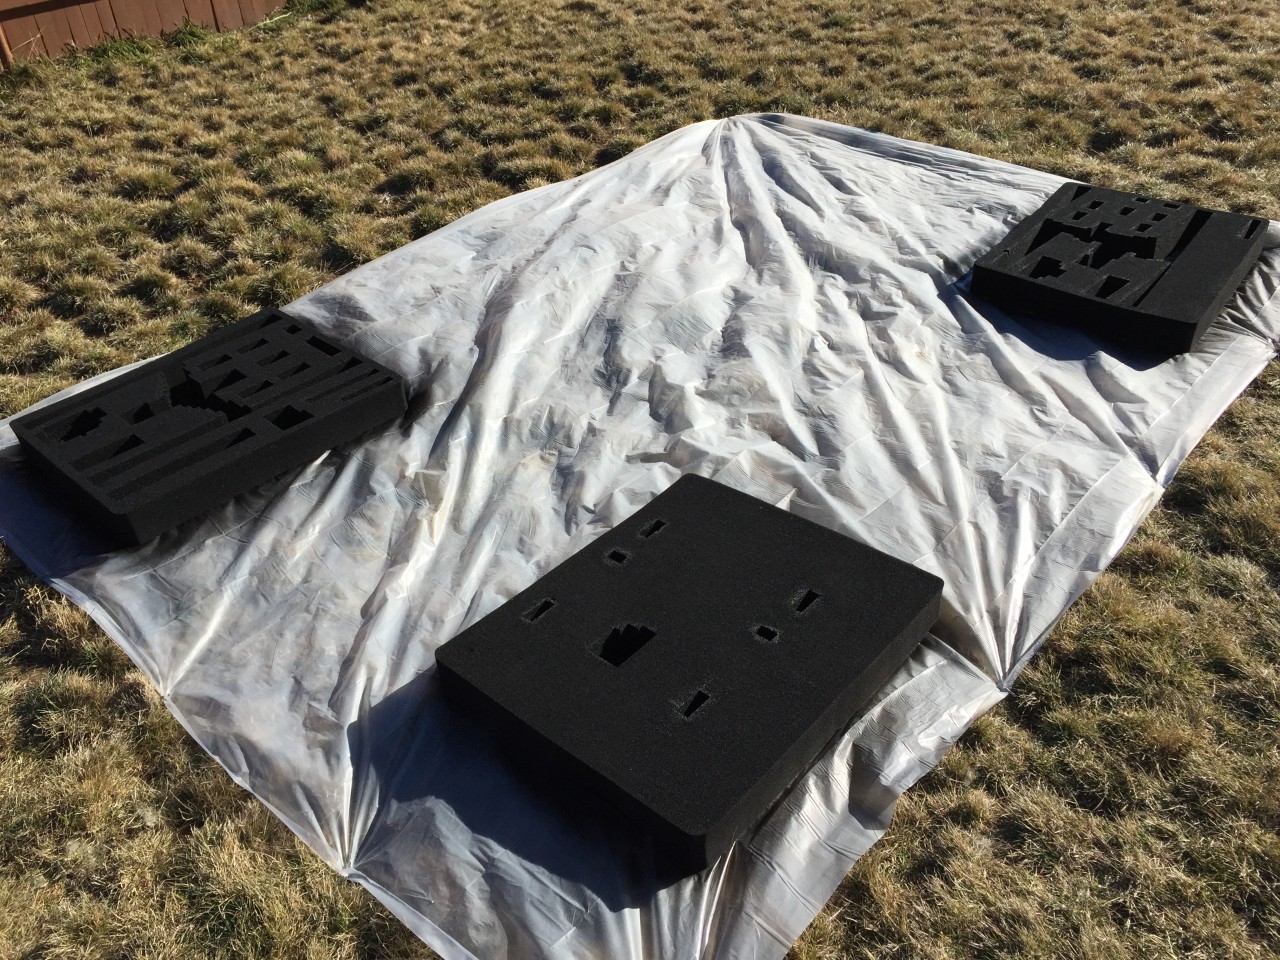
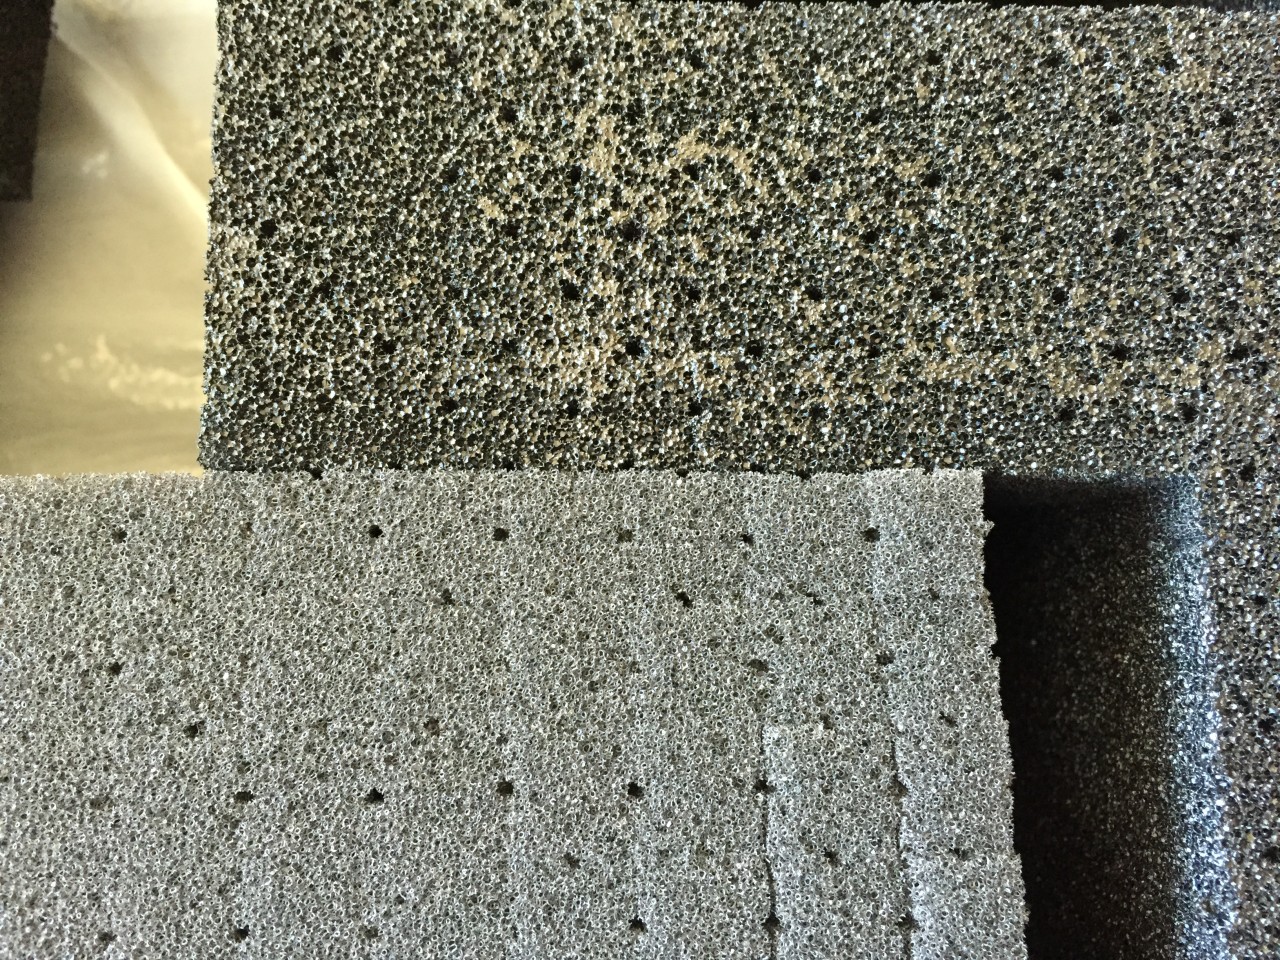
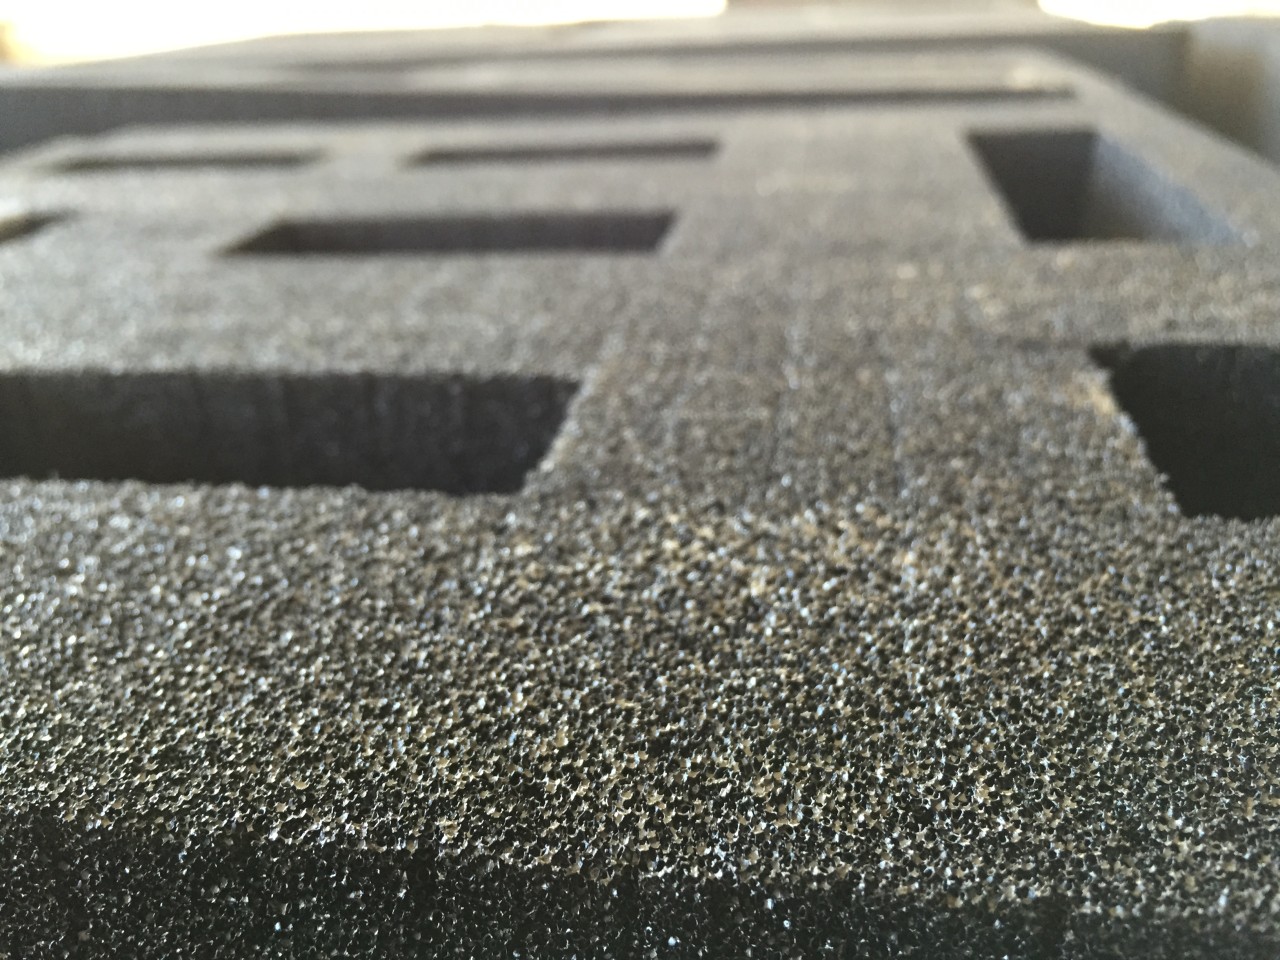
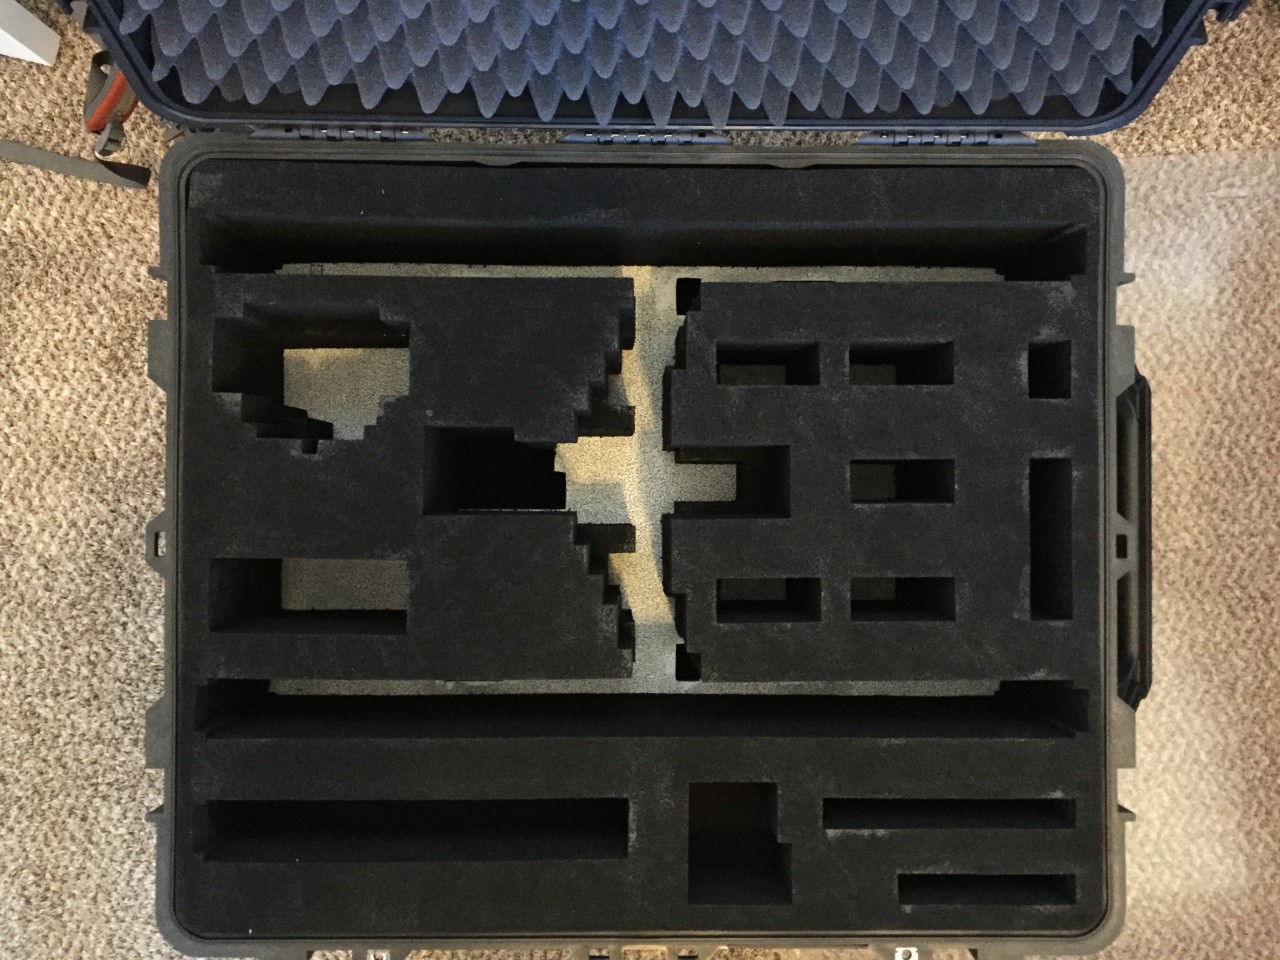
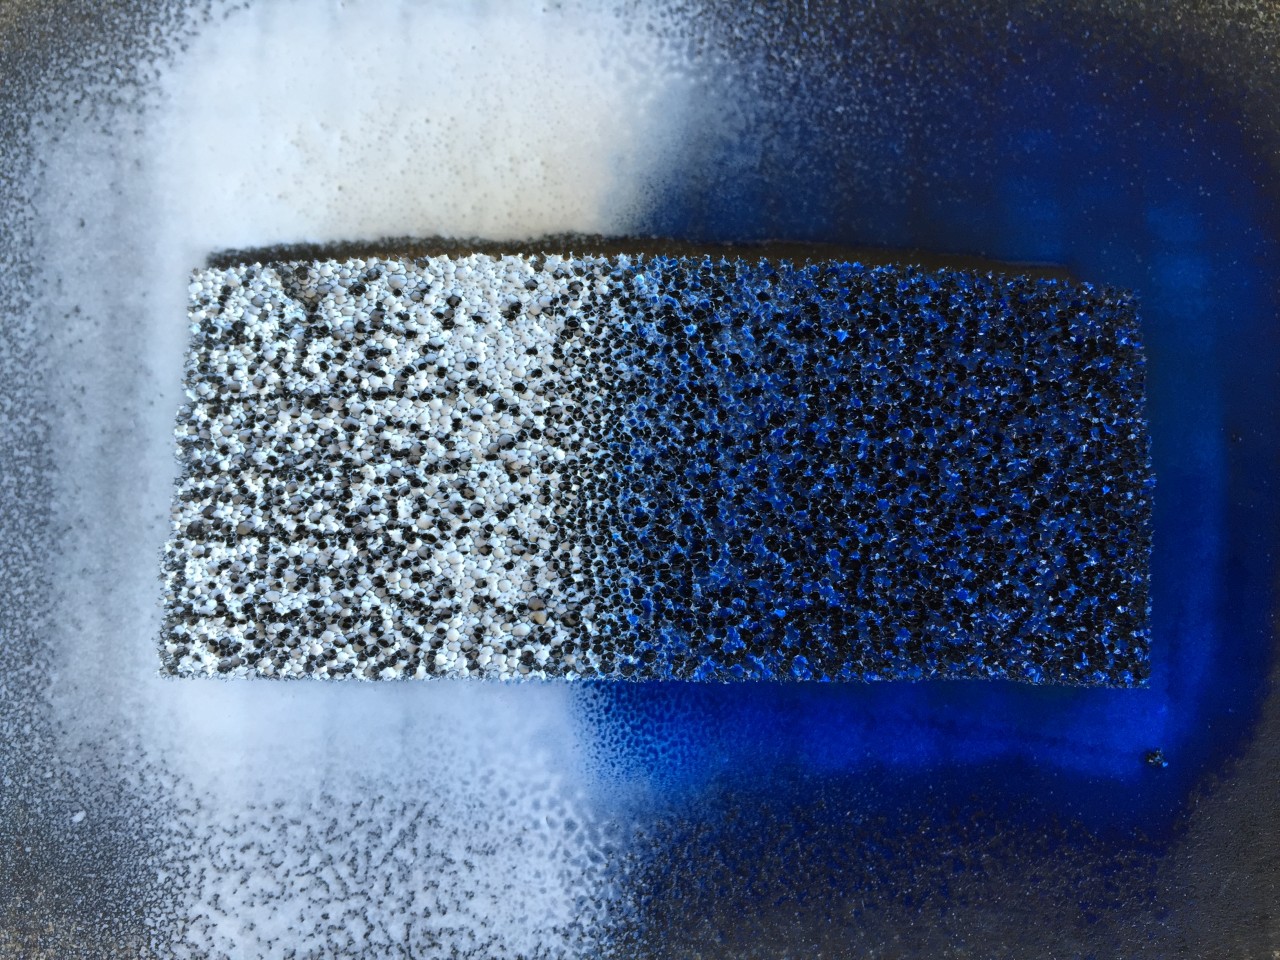
To create the custom fit for the Inspire 1, I decided to use the Pick/Pluck foam that comes with the case, and then spray it with Plasti-Dip to ensure the foam does not fall apart from daily use. Pick/Plucking the foam took about 3 hours. Since I was working with a very tight dimension in the width, I wanted to be very careful that the drone would be centered perfectly. Applying Plasti-Dip was time consuming. I wanted to ensure maximum durability so I applied a lot of Plasti-Dip. It took about 10 cans to coat the tops, sides, bottoms and inside all the pockets about 4 times. That’s about $60 in Plasti-Dip, which add to the cost but is worth it for my use. If you’ve ever used Pick/pluck foam for long durations, you’ll know this is a necessary cost.
I also added two cans of white Plasti-Dip to the top of the bottom layer, giving some contrast and style while making it easier to find things that fall down there.
I also explored with the idea of painting the top of the top layer blue, to give it that nice finishing touch. In the end, I decided against it, as I didn’t like how my demo was looking.
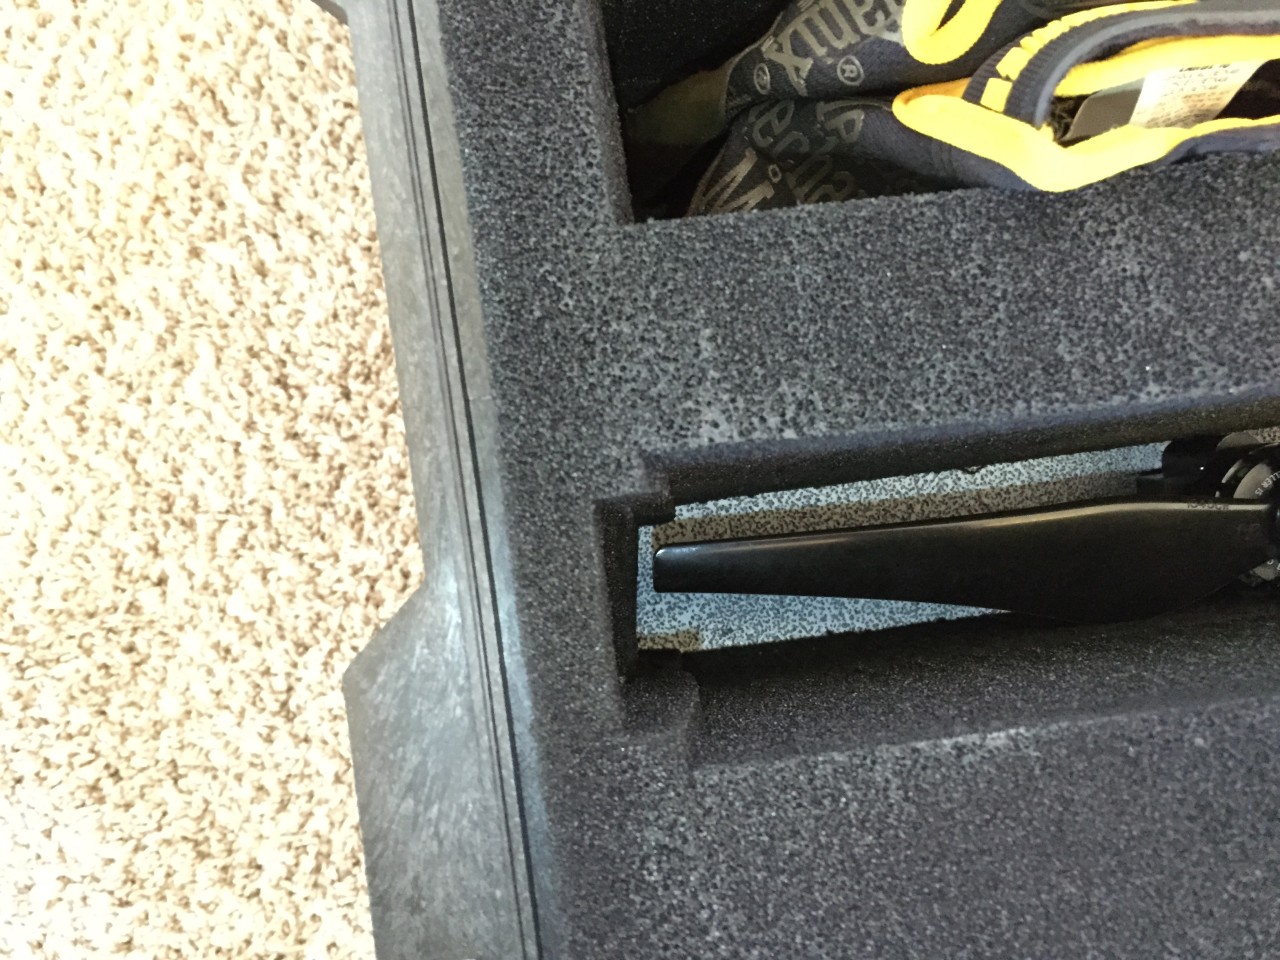
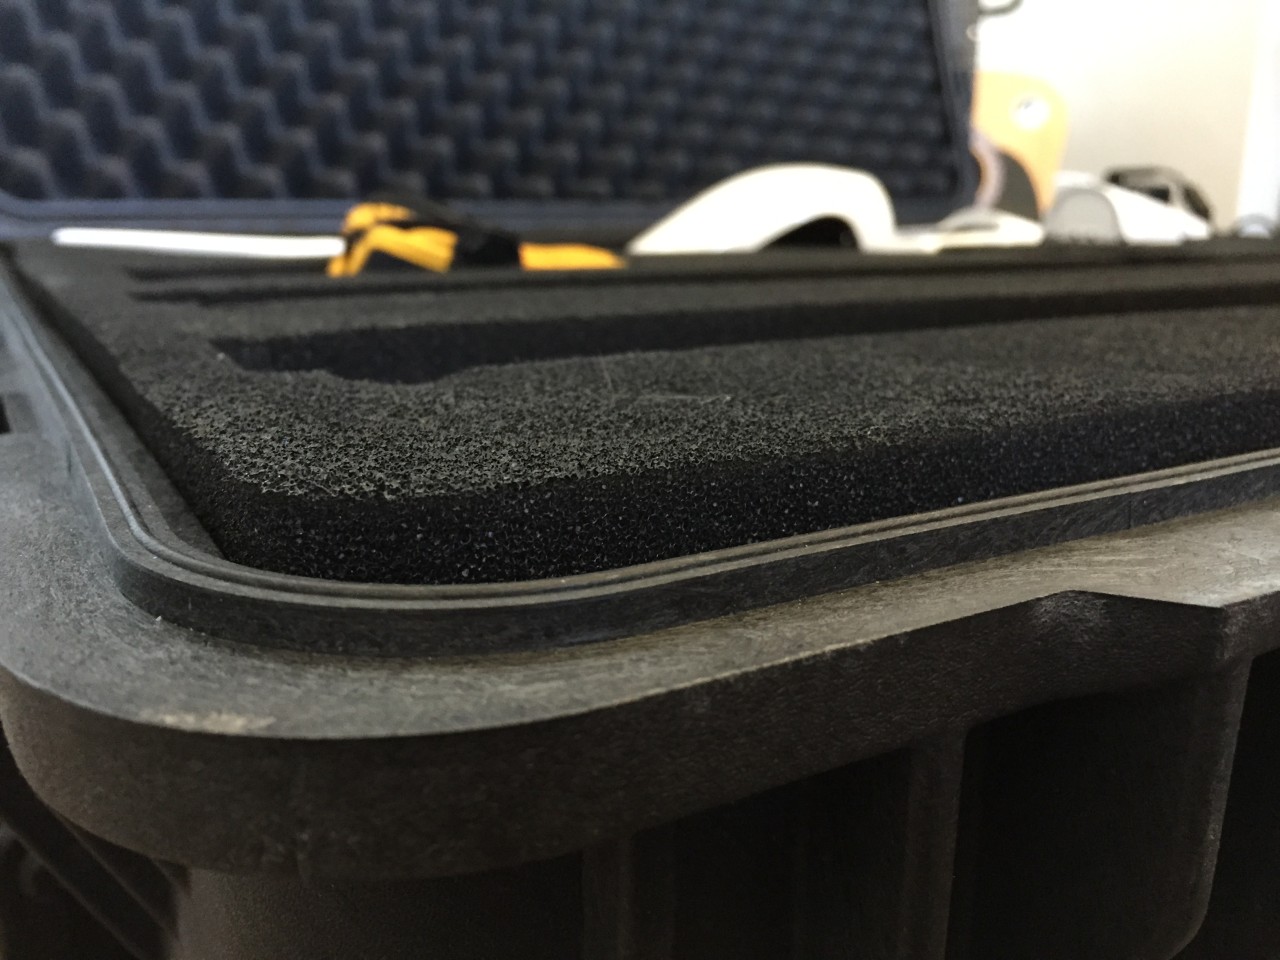
The end result was very nice, but the props still touched the un-customizable perimeter foam. Before I applied Plasti-Dip, it was not an issue to have the props touching the outside foam. “More stability,” I thought. However, after Plasti-Dip was coated on it was much more difficult to put the bird in the case with props on, because the Plasti-DIp has grip and the props were now gripping the perimeter foam and bending. Like a child having a tantrum while being put to bed, clawing at the walls as you drag them down the hall. I really didn’t like this, or the personification I was giving my drone, so I actually cut into the un-customizable perimeter foam with a sharp blade, to make sure the props couldn’t ‘claw the walls.’ The props no longer touch the perimeter foam, and using the case is much easier because of this modification. However, this could of course be avoided entirely by just customizing your case to store the drone with Travel Mode off, camera on, and props off.
The props are probably the smallest hassle of the startup/breakdown process, so it may be worth it to just leave them off. Also, in light of very recent news, future Inspire 1’s will likely ship with the new E800 prop adapters, meaning you don’t have to spin the props on anymore. With the new prop adapters, you literally twist the props a quarter-turn until it clicks in, and then it’s locked. To release, you push down and spin, like a child-proof medicine container. If I had this prop system on my Inspire 1, I would definitely plan to leave the props off during travel since it’s so much easier to install/remove them. That would also have the added benefit of paying less for a smaller case, storing a smaller case is easier, and you would need less Plasti-Dip as well. That said, I do not regret getting the 1690 or customizing my foam the way I did. I’m sure the foam will be scrapped and the case will be re-purposed for some other drone or piece of equipment in the future, so I’m happy regardless. Not to mention, it accomplishes exactly what I wanted, it simplifies the setup/breakdown process enormously.
I can now transport my drone in a configuration that enables me to simply calibrate the sensors and fly. My setups and breakdowns are greatly simplified, and I spend less time fiddling with the little things which makes each flight that much more enjoyable. If you take the ‘process’ out of the equation, all the sudden flights are much more spontaneous and easier to deploy. That is exactly what I wanted, and I found it with the Pelican 1690.
Hi , I am trying to have a lightweight soft case (with a semirigid foam insert ) to take the inspire with camera on, (but without props), to keep weight down and reduce bulkyness.
Could you take a good top pic of the cut foam you prepared? and send me that? I am sure that would be useful. thanks. Alex